Mixed Colors Sweet Potato Slips, Sweet Potato Vine Live Plant – 10 Slips – Non-Gmo Organic – Well Rooted – Zone: 10-11- Outdoors – Full Sun
Mixed Colors Sweet Potato Slips, Sweet Potato Vine Live Plant – 10 Slips – Non-Gmo Organic – Well Rooted – Zone: 10-11- Outdoors – Full Sun
Start your sweet potato garden with our Mixed Colors Sweet Potato Slips. These well-rooted, non-GMO organic slips thrive in full sun.
From $29.99

With our Alive & Thrive Guarantee, we’ve got your back for the first 30 days! If you have any concerns about your plants, just reach out to us. Our team is here to help answer your questions and guide you in selecting the best plants for your garden, climate, and unique preferences. We're excited to help you create the garden of your dreams!
-
USDA Hardiness Zone
10-11 -
Soil type
Well-drained soil -
Sunlight Exposure
Full sun -
Expected Planting Period
Spring
Overview of Mixed Colors Sweet Potato Slips
Mixed Colors Sweet Potato Slips offer an easy and efficient way to cultivate sweet potatoes in your garden. This unique method of propagation ensures that each plant is genetically identical to its parent, allowing for consistent quality and yield.
Benefits of Growing from Slips
Utilizing slips for sweet potato cultivation is advantageous because it preserves the traits of specific varieties. These slips are derived from healthy, mature sweet potatoes, guaranteeing robust plants with high productivity. You’ll enjoy a bountiful harvest of nutritious sweet potatoes.
Planting and Care Instructions
To successfully plant your sweet potato slips, begin by selecting healthy tubers and sprouting them in water. Once shoots appear, carefully harvest and plant them in well-drained soil. Regular watering and ample sunlight are crucial for healthy growth.
Harvesting Your Sweet Potatoes
Sweet potatoes are ready for harvest when leaves yellow and wither. Gently dig up the tubers for a rewarding gardening experience. This process from slip to harvest is both exciting and fulfilling.
Frequently Asked Questions
- What is the best USDA zone for planting sweet potato slips? Ideal for zones 10-11.
- What type of soil should I use? Well-drained soil is recommended.
- How much sunlight do sweet potatoes need? They thrive in full sun.
- When is the best time to plant sweet potato slips? Plant in warm weather, usually in spring.
- How do I know when to harvest? Look for yellowing leaves as an indicator.
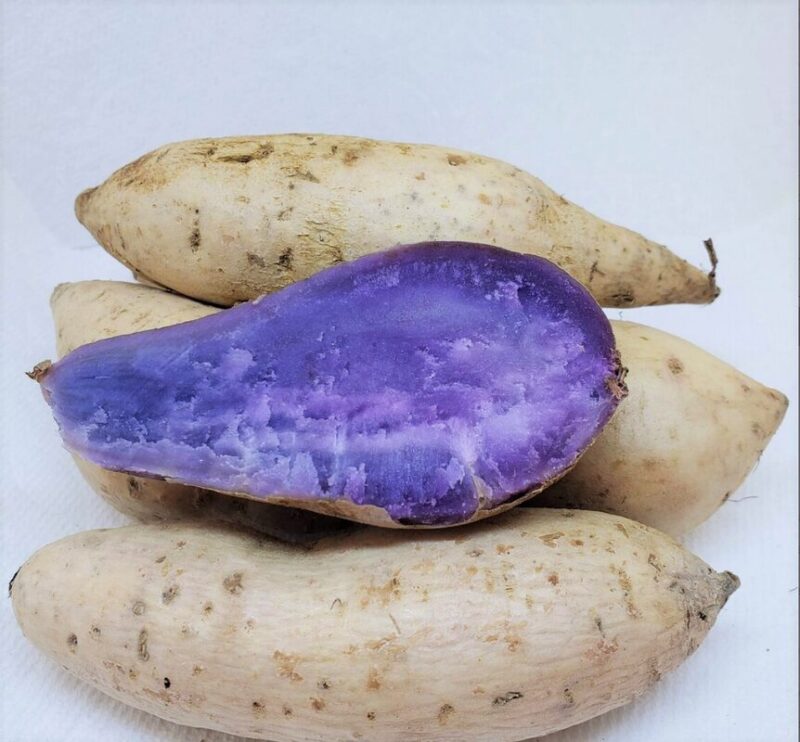
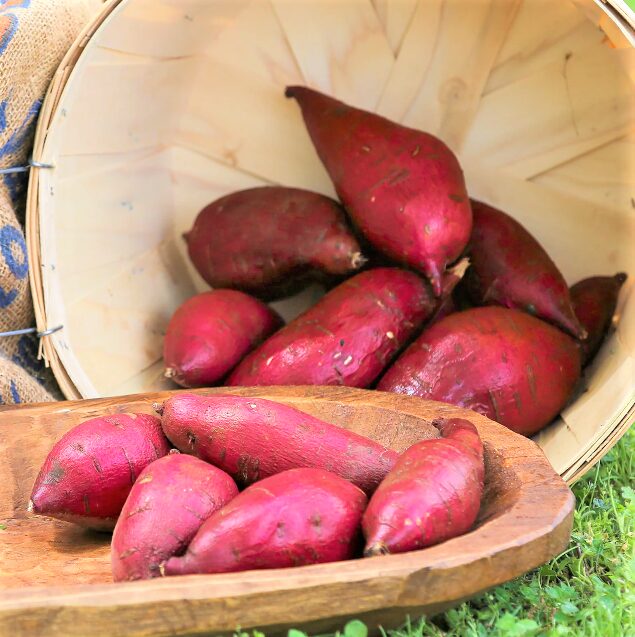
| Variety | Beauregard, Japanese Red, Okinawa, Orange, Pink, Purple, Red, Set Mixed Okinawa – Red – Orange, Set Mixed Red – White – Beauregard, Set Mixed Sweet Potato Slips – Red – Purple – Okinawa – Beauregard, White |
|---|---|
| Size | 5 to 8 Inch Long |
| Color | 10 Slips, 15 Slips, 20 Slips, 3 Rooted Plants in a Cup, 5 Rooted Plants In a Cup |


