Moringa, also known as the “miracle tree,” is packed with nutrients, grows rapidly, and thrives even in harsh conditions. But what if you don’t have a garden? The good news is you can grow Moringa in pots right on your balcony, patio, or even indoors!
If you’re wondering how to successfully grow Moringa in containers, this guide will walk you through everything you need to know, from choosing the right pot to keeping your tree healthy and productive.
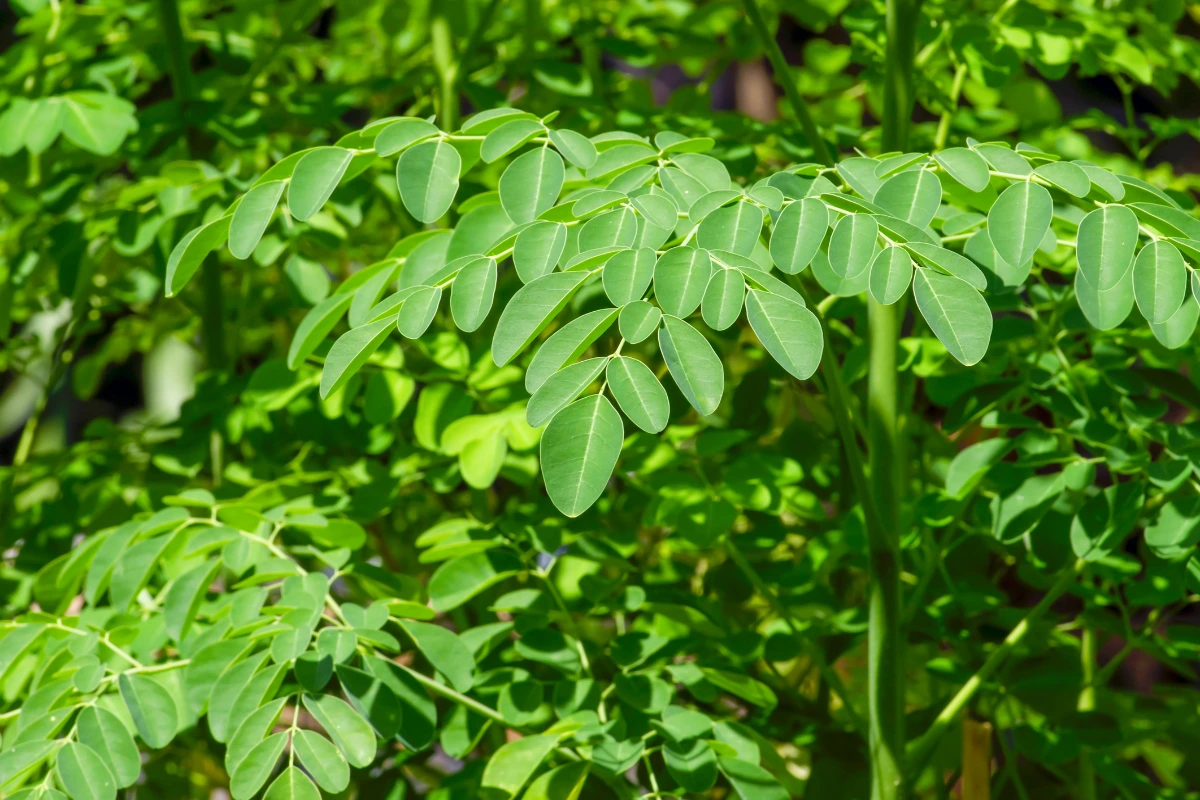
Moringa (Moringa oleifera) is a fast-growing tropical tree native to India and Bangladesh. Often called the “miracle tree,” it’s packed with nutrients, and almost every part of it—leaves, flowers, pods, seeds, and even roots—is edible. Moringa can grow up to 20 feet (6 meters) per year, making it a great source of food and light, and dappled shade. Once established, it’s highly drought-tolerant and can be grown as either a tall, slender tree or pruned into a bush for easier harvesting.
If you live in a cooler climate, you can grow moringa as an annual or bring it indoors for the winter. In non-tropical regions, it behaves like a deciduous tree, shedding its leaves and going dormant in the cold months. But don’t worry—it bounces back quickly in the warmth of spring!
Read more:
Why Grow Moringa in Pots or Containers?
Growing moringa in pots is a fantastic option, especially if you’re working with limited space or unpredictable weather. Here’s why many gardeners prefer container-grown moringa:
-
Perfect for small spaces – Don’t have a big yard? No problem! Moringa thrives in pots, making it a great choice for balconies, patios, or even a sunny windowsill. As long as it gets enough sunlight, this resilient tree can flourish just about anywhere.
-
Better soil control – Moringa loves well-draining, nutrient-rich soil. When you grow it in a container, you can customize the soil mix to ensure the best possible growth. No more worrying about poor native soil or compacted ground!
-
Easier maintenance – Potted moringa is less vulnerable to pests, diseases, and weeds compared to plants grown directly in the ground. Plus, pruning and harvesting are much simpler when your tree is within arm’s reach.
-
Portability for cold climates – Moringa is a tropical tree, so it doesn’t love frost. If you live in a cooler region, growing it in a pot lets you move it indoors during winter, keeping it safe and happy until warm weather returns.
Preparing to Grow Moringa in Pots
Before you get started, let’s go over the essentials—choosing the right variety, the best time to plant, and how to set up the perfect growing environment for your potted moringa tree.
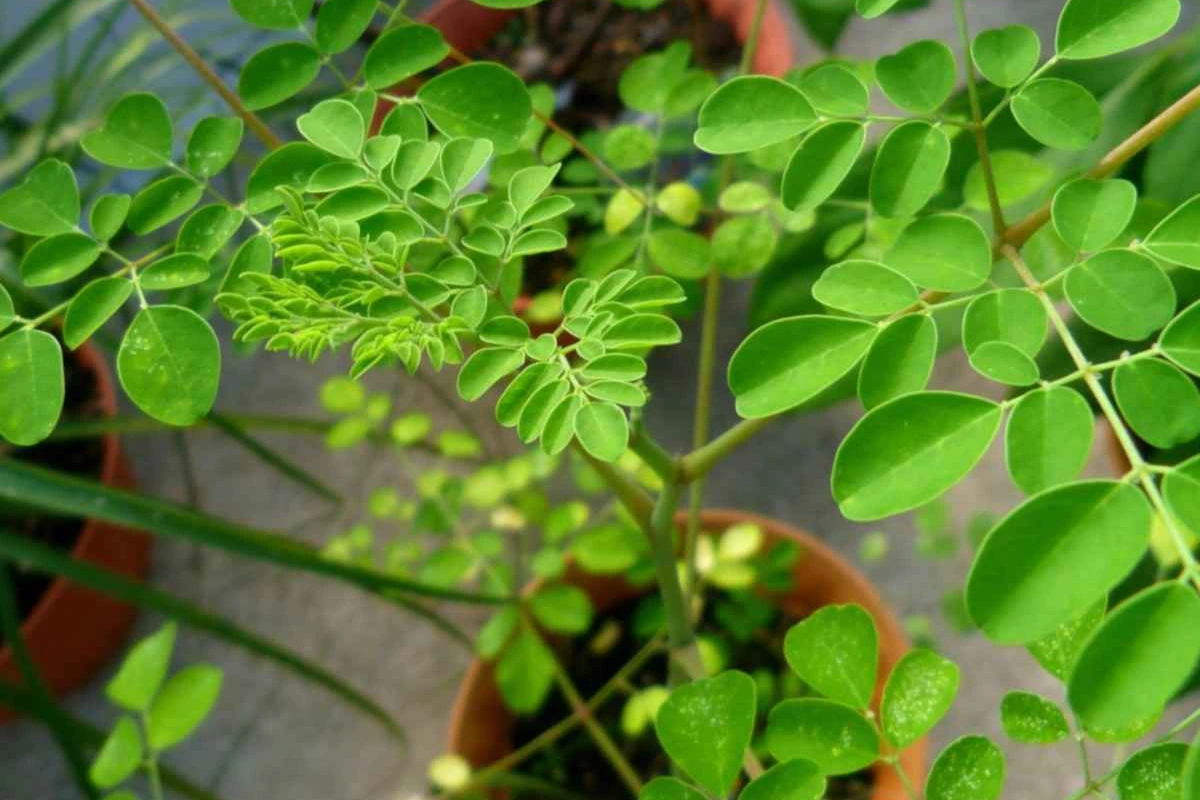
Best Moringa Varieties for Containers
Not all moringa trees are suited for life in a pot. If you’re growing in containers, these are the best options:
-
Moringa oleifera – The most common and widely cultivated variety. It’s fast-growing, highly nutritious, and adaptable to pot culture with regular pruning.
-
Dwarf moringa varieties – These naturally smaller plants require less pruning and fit better in compact spaces, making them ideal for patios, balconies, or even indoor growing.
When Is the Best Time to Plant Moringa?
Moringa thrives in warm temperatures and doesn’t tolerate frost. If you live in a colder climate, start your moringa seeds or cuttings indoors in early spring and move them outside once nighttime temperatures stay above 60°F (15°C). In tropical and subtropical regions, moringa can be planted year-round.
Selecting the Perfect Container
Picking the right pot is key to keeping your moringa healthy and thriving. Here’s what to look for:
-
Size – A container at least 15-20 inches (38-50 cm) in diameter gives the roots enough space to grow. Bigger is better!
-
Material – Terracotta, fabric grow bags, or sturdy plastic pots work well. Fabric pots are especially great for airflow and preventing root-bound plants.
-
Drainage – Good drainage is a must! Make sure your pot has plenty of holes to prevent soggy roots and root rot.
Preparing the Soil
Moringa isn’t picky, but it does best in well-draining, nutrient-rich soil. A great mix includes:
-
50% garden soil – A good base for structure.
-
25% sand or perlite – Improves drainage and aeration, preventing compacted soil.
-
25% compost or organic matter – Provides essential nutrients for strong growth.
-
pH level: Aim for a slightly acidic to neutral range (6.0-7.5).
Choosing the Right Location
Moringa loves sunlight—the more, the better! Place your pot in a sunny spot where it gets at least 6-8 hours of direct sunlight daily. If growing indoors, position it near a south-facing window or use a grow light to keep it happy.
How to Plant Moringa in Pots
Once you’ve got the perfect pot and soil mix ready, it’s time to plant! You can start moringa in pots from seeds or seedlings, depending on your preference.
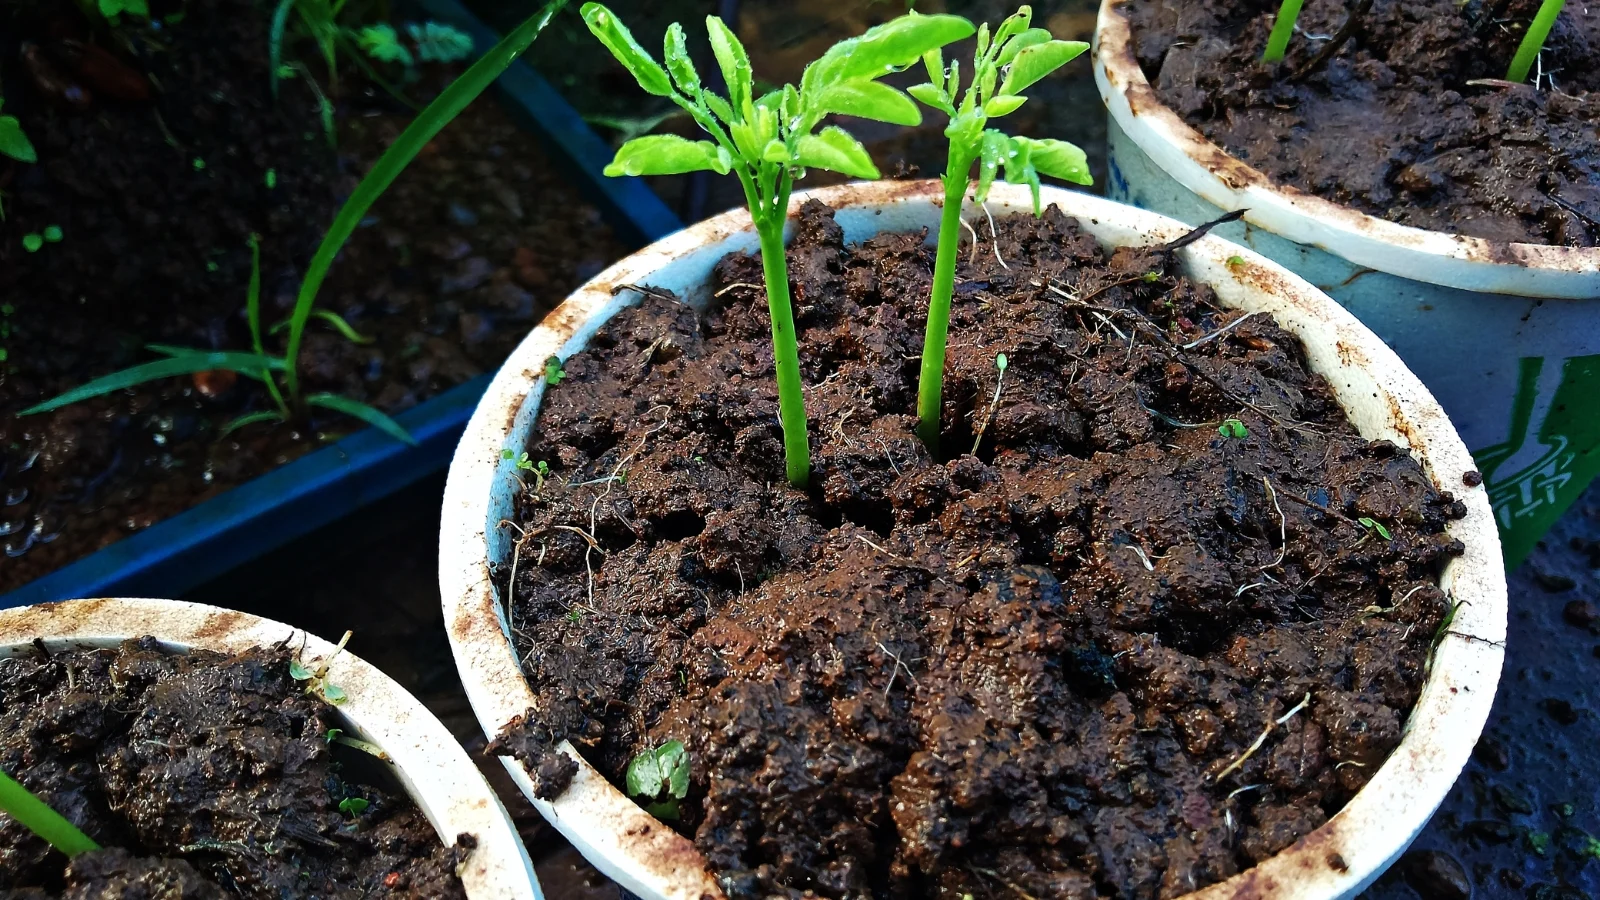
Planting Moringa from Seeds
Starting moringa from seeds is easy and rewarding. Follow these steps for the best results:
-
Soak the seeds – Place moringa seeds in lukewarm water and let them soak for 24 hours. This softens the seed coat and speeds up germination.
-
Plant the seeds – Sow the seeds about 1 inch (2.5 cm) deep in your prepared soil.
-
Water lightly – Keep the soil moist but not soggy. Overwatering can lead to rot, so a gentle misting is usually enough.
-
Wait for germination – With the right conditions, your seeds should sprout in 7-14 days. Keep them in a warm, sunny spot to encourage strong growth.
Transplanting Moringa Seedlings
If you’re starting with a young moringa plant, transplanting it correctly will help it settle in smoothly:
-
Dig a hole – Make a hole in the soil that’s twice the size of the seedling’s root ball to give the roots plenty of space.
-
Place the seedling – Gently position your moringa seedling in the hole, making sure it sits at the same depth as it was in its original container.
-
Cover with soil and water – Fill the hole with soil, pat it down lightly, and water gently to reduce transplant shock.
Read more: How To Grow Moringa From Seeds
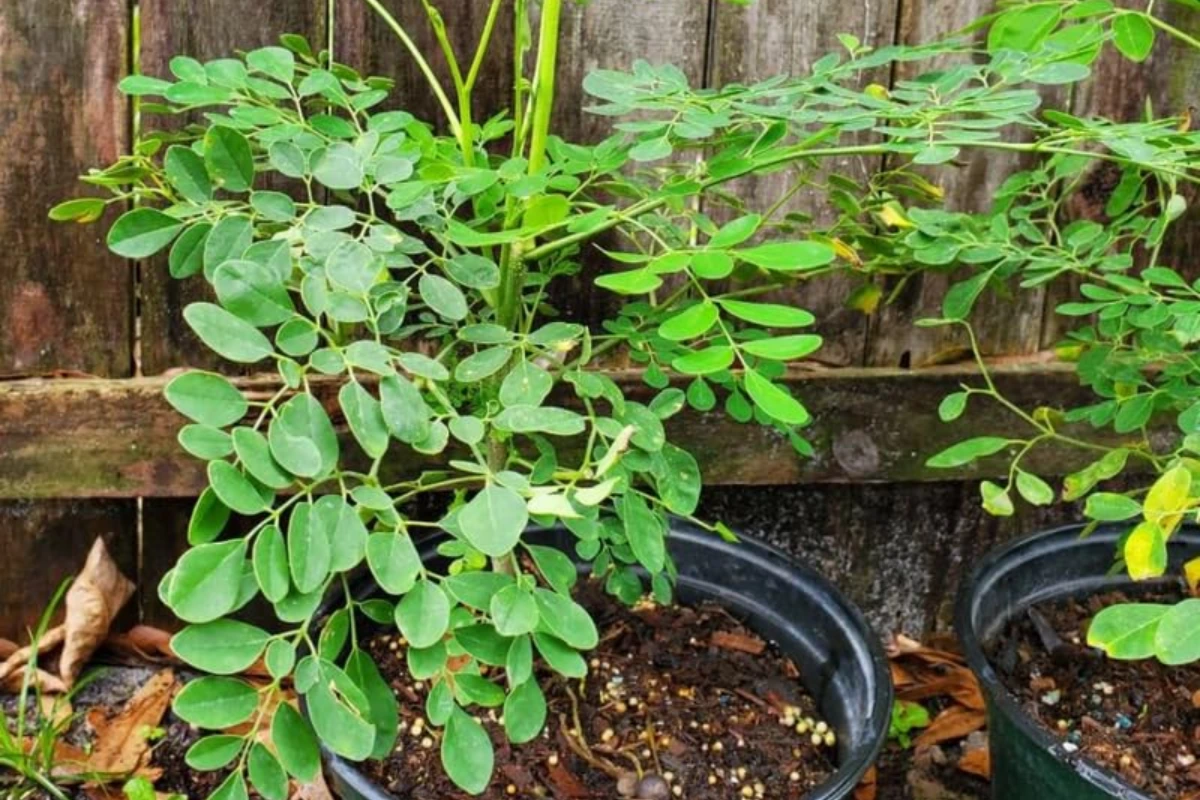
Caring for Moringa in Pots
Once your moringa is planted, proper care will keep it thriving! Luckily, moringa is a low-maintenance tree, but a little attention goes a long way in ensuring healthy growth.
Watering
Moringa prefers deep but infrequent watering. Here’s how to keep its roots happy:
-
Water deeply about once every 3-4 days, allowing the soil to absorb moisture without becoming waterlogged.
-
Let the soil dry slightly between waterings—moringa doesn’t like wet feet!
-
In winter, when the tree goes dormant, reduce watering to prevent root rot.
Pruning and Harvesting
Regular pruning keeps your moringa tree compact, bushy, and full of fresh leaves:
-
Prune often to encourage more branches and prevent the plant from becoming too tall and leggy.
-
Remove yellowing leaves and weak stems to promote healthier growth.
-
Once your plant reaches 2-3 feet (60-90 cm) tall, you can start harvesting young, tender leaves for cooking or tea! The more you harvest, the more it grows.
Feeding Your Plant
Moringa grows fast and benefits from regular feeding:
-
Apply a balanced organic fertilizer every 2-3 weeks to keep the plant strong.
-
Compost or vermicompost is a great natural booster, adding essential nutrients to the soil.
-
Epsom salt (magnesium sulfate) can be added occasionally to boost magnesium levels, which helps with leaf production.
Pest Control
Moringa is relatively pest-resistant, but a few critters might try to snack on its leaves:
-
Watch out for aphids, spider mites, and whiteflies—they’re the most common troublemakers.
-
If pests appear, spray the plant with neem oil or soapy water to keep them at bay.
-
Keep the area around your plant clean to prevent infestations and encourage healthy growth.
Common Problems with Moringa in Pots (and How to Fix Them!)
Even though moringa is a hardy plant, it can sometimes run into issues—especially when grown in pots. Here’s how to troubleshoot some of the most common problems:
1. Yellowing Leaves
If your moringa’s leaves are turning yellow, don’t panic! It’s usually due to:
-
Overwatering or poor drainage – Moringa likes dry spells between watering. If the soil stays soggy, the roots can suffocate. Make sure your pot has good drainage and let the topsoil dry out before watering again.
-
Nutrient deficiency – If the leaves look pale or yellowish-green, your plant may need more nitrogen or magnesium. A dose of organic fertilizer or a sprinkle of Epsom salt (magnesium sulfate) can help bring back that vibrant green color.
2. Stunted Growth
If your moringa seems to be stuck in slow-motion mode, check for these possible causes:
-
Not enough sunlight – Moringa thrives in full sun! If it’s not getting at least 6-8 hours of direct sunlight, move it to a sunnier spot.
-
Pot is too small – Moringa’s roots grow fast. If your plant seems stunted or root-bound, it’s time to repot into a larger container to give it more room to expand.
3. Drooping Leaves
If your moringa’s leaves are wilting or drooping, it’s usually a sign of:
-
Underwatering – While moringa prefers dry soil between waterings, it still needs a good soak, especially in hot weather. Check the soil—if it’s bone dry, increase watering slightly.
-
Excessive heat – In extreme heat, moringa may droop as a defense mechanism to reduce water loss. Watering a little more frequently and providing some afternoon shade can help.
Moringa is a tough plant, and with the right care, it bounces back quickly from most problems!
Winter Care for Moringa in Pots
Moringa loves warmth, so when temperatures start to drop, a little extra care will keep it happy through the winter.
-
Bring it indoors – If temperatures fall below 50°F (10°C), move your moringa inside to protect it from the cold. A sunny south-facing window is ideal.
-
Reduce watering – As moringa enters dormancy, it needs less water. Let the soil dry out more between waterings to prevent root rot.
-
Use grow lights if needed – If natural sunlight is limited, supplement with grow lights to keep your plant healthy until spring returns.
Growing moringa in pots is a fantastic way to enjoy the benefits of this nutrient-packed “miracle tree”—even if you don’t have a big garden! With the right container, proper care, and regular pruning, your potted moringa can thrive and provide you with fresh, homegrown leaves for years to come.
Why wait? Start your moringa container garden today and enjoy the rewards of this fast-growing superfood right at home! It’s time to plant your own moringa tree and enjoy fresh, homegrown nutrition year-round. Happy gardening!
Frequently Asked Questions
1. Can I grow moringa indoors?
Absolutely! Moringa can grow indoors as long as it gets 6-8 hours of direct sunlight or is placed under grow lights for healthy development.
2. How long does it take for moringa to mature?
Moringa is a fast grower! You can start harvesting leaves in just 2-3 months, while flowers typically appear within 6-8 months.
3. What’s the best fertilizer for potted moringa?
Use organic compost, vermicompost, or a balanced liquid fertilizer every few weeks to keep your tree strong and productive.
4. How do I store harvested moringa leaves?
Dry the leaves in a shaded area, store them in an airtight container, or freeze them to maintain their nutrients for a longer shelf life.
Related Posts: